안녕하세요. 메로나입니다.
오늘은 Flutter에서 Navigation 기능은 어떻게 구현하는지 공부하겠습니다.
Navigation 기능은 무엇인가?
앱의 화면 간 이동을 처리하는 핵심 부분을 뜻합니다.
Bottom Navigation 기능


import 'package:flutter/material.dart';

void main() {
  runApp(MyApp());
}

class MyApp extends StatefulWidget {
  @override
  State<MyApp> createState() => _MyAppState();
}

class _MyAppState extends State<MyApp> {
  late int index;

  @override
  void initState() {
    super.initState();
    index = 0;
  }

  @override
  Widget build(BuildContext context) {
    return MaterialApp(
      home: Scaffold(
        appBar: AppBar(
          title: Text('flutter로 화면 이동하기'),
        ),
        body: homeBody(),
        bottomNavigationBar: BottomNavigationBar(
          items: [
            BottomNavigationBarItem(
              icon: Icon(Icons.home),
              label: '홈',
            ),
            BottomNavigationBarItem(
              icon: Icon(Icons.search),
              label: '검색',
            ),
            BottomNavigationBarItem(
              icon: Icon(Icons.settings),
              label: '설정',
            ),
          ],
          currentIndex: index,
          onTap: (int index) {
            setState(() {
              this.index = index;
            });
          },
        ),
      ),
    );
  }

  Widget homeBody() {
    switch(index) {
      case 0:
        return Center(
          child: Text('홈 화면'),
        );
      case 1:
        return Center(
          child: Text('검색 화면'),
        );
      case 2:
        return Center(
          child: Text('설정 화면'),
        );
      default:
        return Center(
          child: Text('잘못된 화면입니다.'),
        );
    }
  }
}
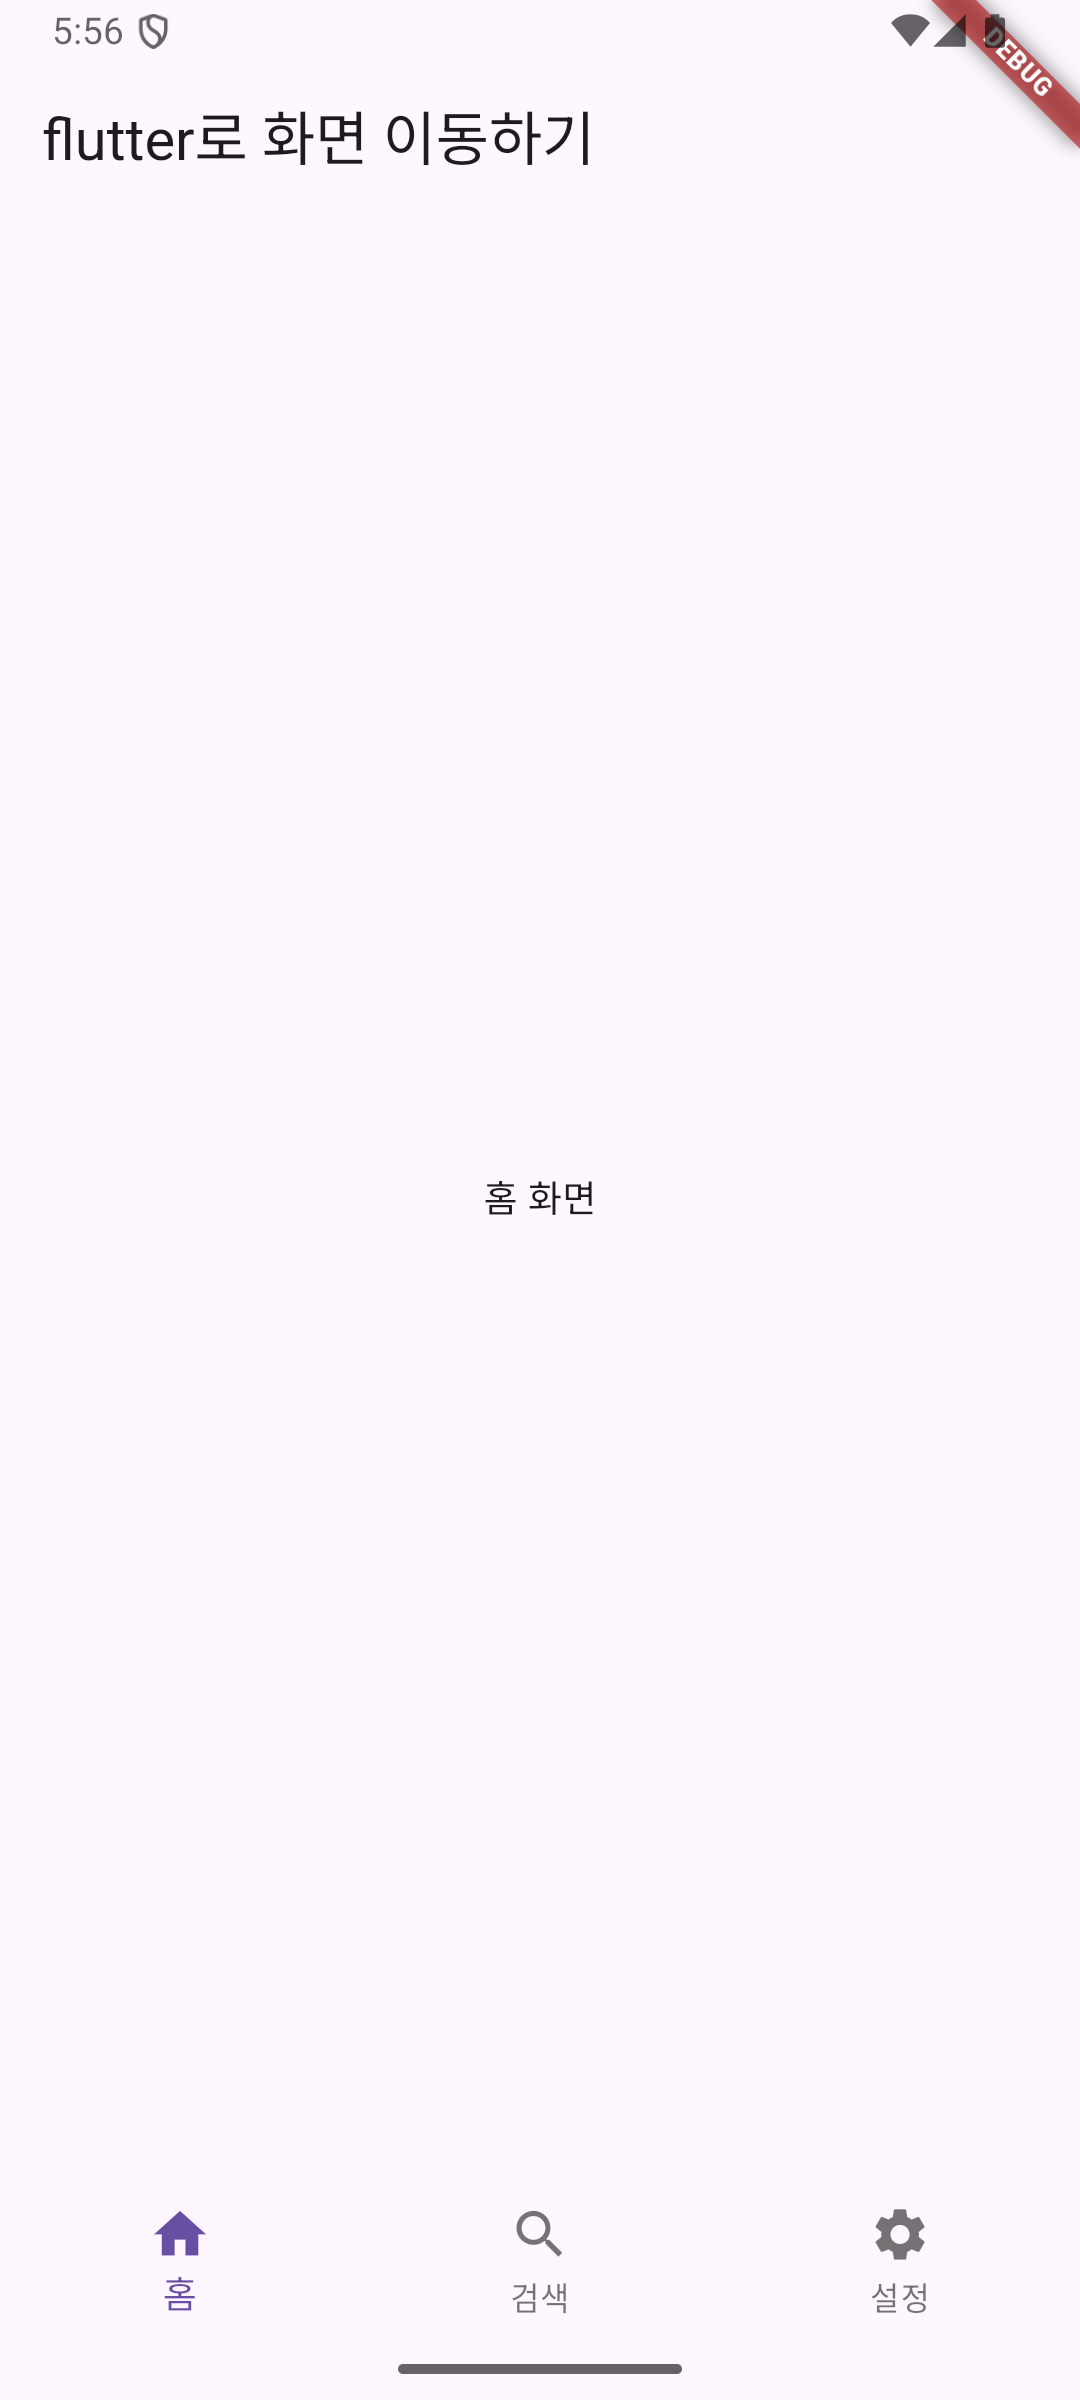
- Bottom Navigation 기능은 하단의 Button을 이용해 페이지를 전환할 수 있습니다.
- Flutter에서는 BottomNavigationBarItem 함수를 통해 쉽게 Bottom Button을 추가하여 사용할 수 있습니다.
버튼으로 화면 간 이동
개발을 하시면 뒤로가기 버튼을 많이 추가하실 것 같은데 그때 사용하면 유용한 기능입니다.

// main page
import 'package:flutter/material.dart';

class NewPage extends StatelessWidget {
  const NewPage({super.key});

  @override
  Widget build(BuildContext context) {
    return Scaffold(
      appBar: AppBar(
        title: Text('New Page'),
      ),
      body: Center(
        child: TextButton(
          child: Text('Go Back'),
          onPressed: () {
            Navigator.pop(context);
          },
        ),
      ),
    );
  }
}

// new page
import 'package:flutter/material.dart';

class NewPage extends StatelessWidget {
  const NewPage({super.key});

  @override
  Widget build(BuildContext context) {
    return Scaffold(
      appBar: AppBar(
        title: Text('New Page'),
      ),
      body: Center(
        child: TextButton(
          child: Text('Go Back'),
          onPressed: () {
            Navigator.pop(context);
          },
        ),
      ),
    );
  }
}
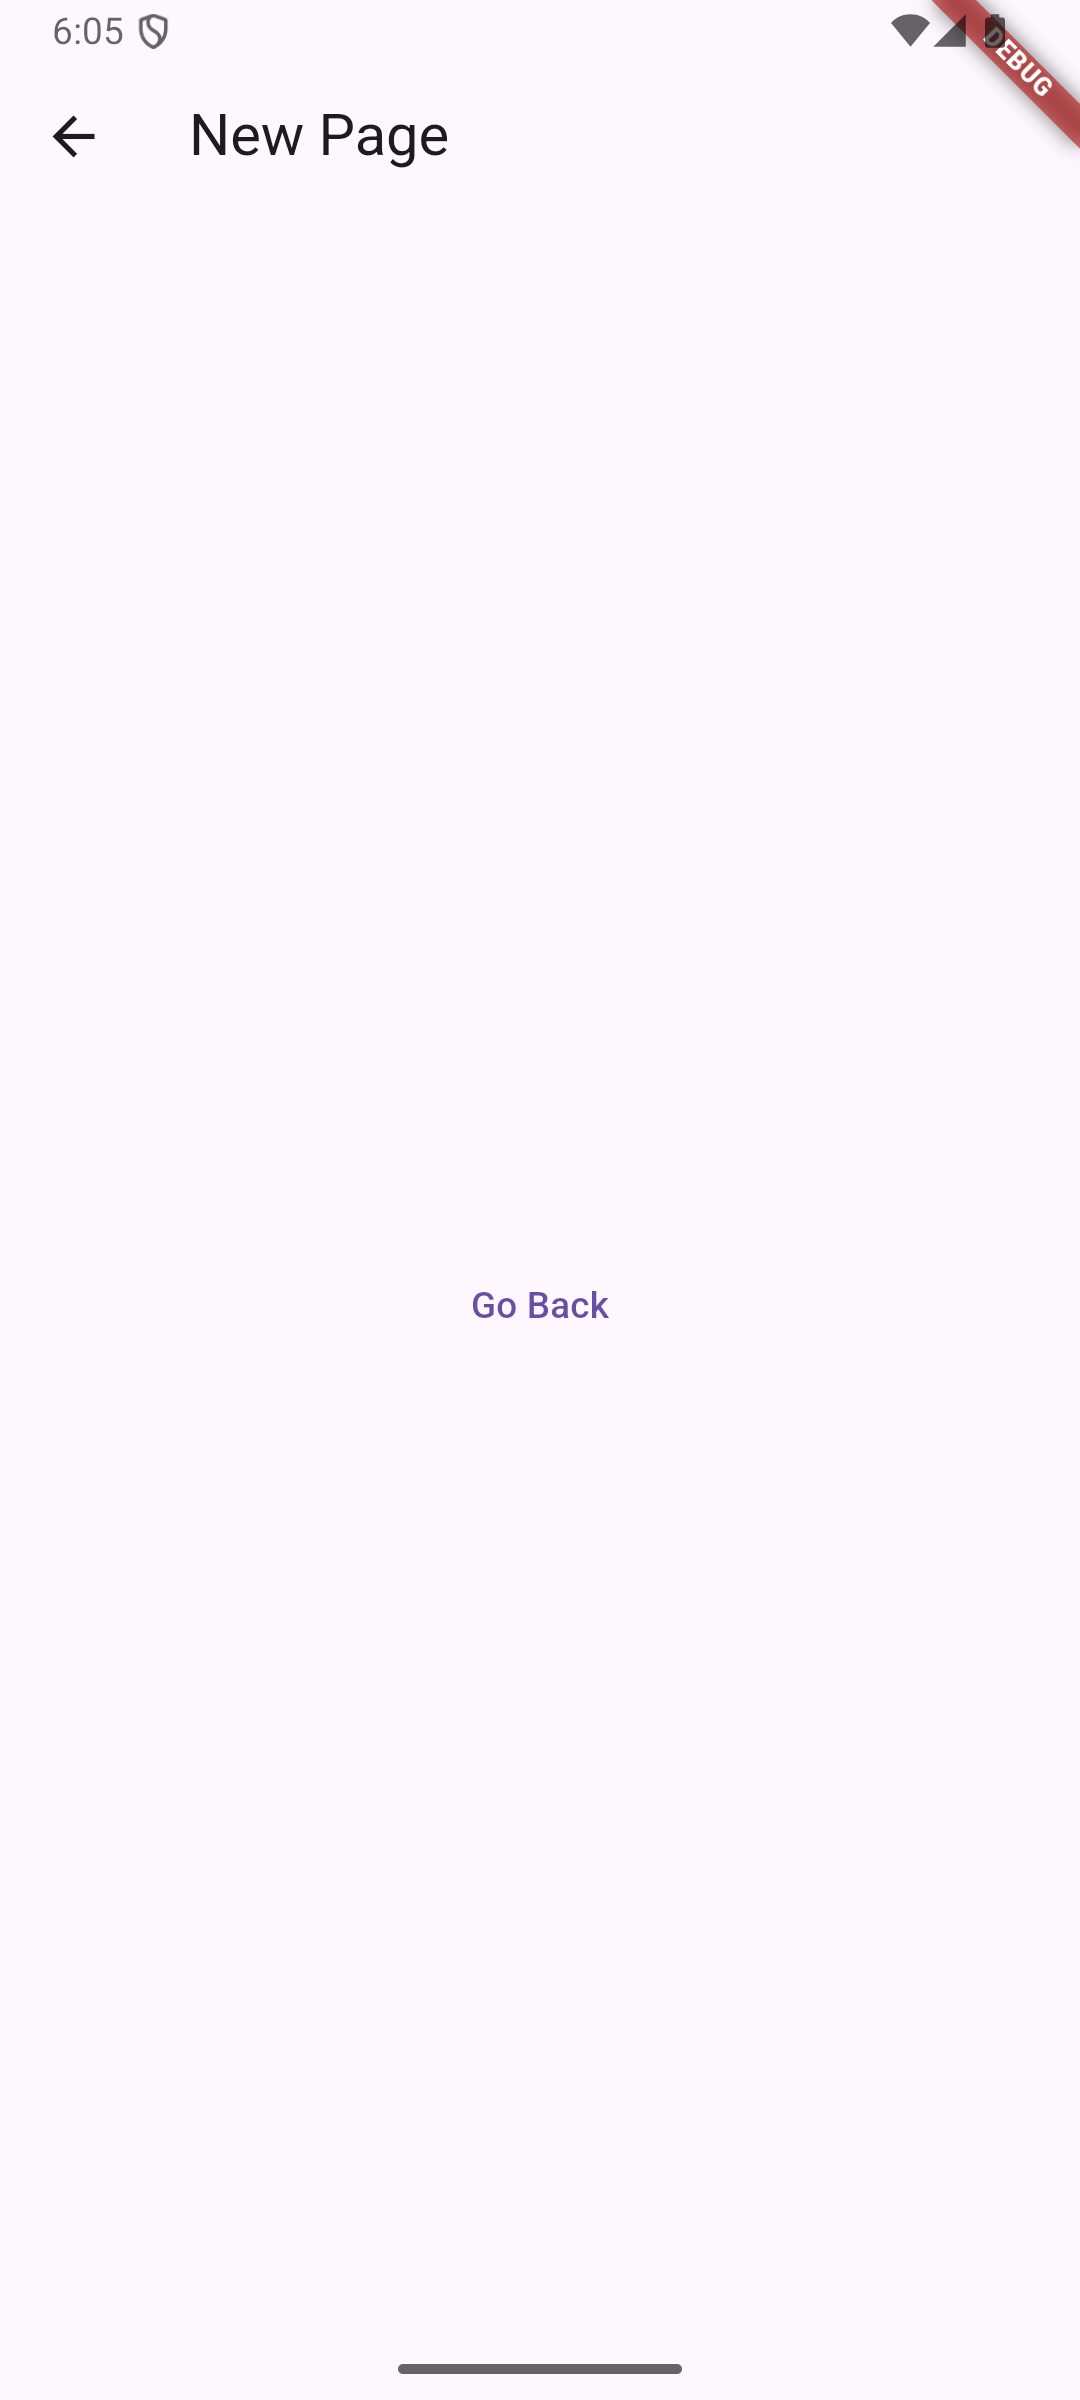
- main page -> new page로 이동하거나 new page -> main page로 이동하는 소스입니다.
- Navigator 클래스에는 push와 pop이라는 함수가 있고, 함수를 사용하기 위해서는 context가 필요합니다.
- stack처럼 push를 하면 화면 위에 화면을 쌓을 수 있고, pop을 하면 맨 위에 있는 화면을 뺄 수 있습니다.
flutter 2.0부터 GoRouter 라이브러리를 사용하여 Navigation 구조 관리
void main() {
  runApp(
    MaterialApp.router(
      routerConfig: GoRouter(
        initialLocation: '/',
        routes: [
          GoRoute(path: '/', name: 'home', builder: (context, _) => HomeScreen()),
          GoRoute(path: '/new', name: 'new', builder: (context, _) => NewPage()),
        ],
      ),
    ),
  );
}

class HomeScreen extends StatelessWidget {
  @override
  Widget build(BuildContext context) {
    return Scaffold(
      appBar: AppBar(
        title: Text('Hello World'),
      ),
      body: Center(
        child: TextButton(
          child: Text('Go to Page'),
          onPressed: () {
            context.push('/new');
          },
        ),
      ),
    );
  }
}
기능은 위와 같이 클릭 시 해당 화면으로 이동합니다.
GoRoute를 사용할 경우 context.push로 간편하게 화면을 이동할 수 있습니다.
context.push 후 매개변수로 path, name 중 하나만 입력을 해도 해당 class로 이동할 수 있으며, 해당 기능이 명확해집니다.
공부를 하면서 안드로이드보다 화면 간 이동이 간편하다는 생각이 많이 들었습니다.
그리고 개발을 하다 보면 화면 간 이동이 복잡해지는데 GoRouter 라이브러리를 사용하면 좀 더 쉽게 화면 간 이동을 할 수 있다는 것을 배운 것 같습니다.
이상 공부를 마치겠습니다.

'Flutter' 카테고리의 다른 글
| [Flutter] 서버와 통신하는 방법 (0) | 2025.05.10 |
|---|---|
| [Flutter] 라이센스 중요성 (0) | 2025.02.13 |
| [Flutter] pubspec.yaml (0) | 2025.01.27 |
| [Flutter] Flutter의 Widget Lifecycle (0) | 2025.01.19 |
| [Flutter] Stateful Widget vs Stateless Widget 차이 (0) | 2025.01.19 |

